Not so long ago there was pretty much one way to interact with a video game: You sat down and played it. Maybe you watched an older friend or sibling play while pointing out all their mistakes, but gaming was never what you’d call a “spectator sport.”
That’s changed in recent years thanks to YouTube gaming celebrities, the booming popularity of professional e-sports, and most importantly, the online game streaming service Twitch. Firing up a stream and watching someone else play a thousand miles away is now a perfectly legitimate way to enjoy a game. Best of all, anyone is free to participate on either side of a Twitch stream. If you want to be the one gaming in front of a live audience, you can start doing it today, for free.
Here’s how to stream your games on Twitch.
How to stream to Twitch: OBS Studio
This guide assumes that you have a PC with a discrete graphics card and processor
powerful enough to stream games. To start broadcasting to Twitch, you’ll need two additional things: desktopsoftware that can record and stream footage from your gaming computer, and a Twitch account. We’ll start with the software.
Options abound for desktop streaming software. You can find debates over the relative merits online, but we recommend one broadcasting suite that’s free and easy to set up—plus it integrates nicely with Twitch. The program is called Open Broadcaster Software Studio (frequently shortened to OBS Studio), which is the replacement for the classic OBS software.
We’ll discuss the OBS Studio client for Windows, but Mac and Linux versions are also available.
Ian Paul/IDG
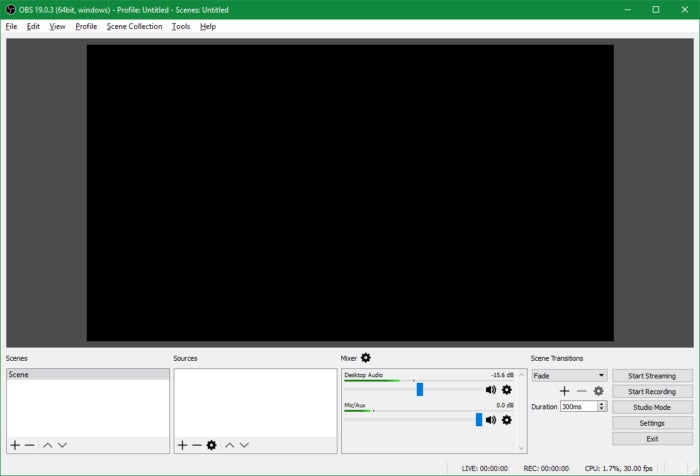
Once you’ve downloaded OBS Studio and run through the installer, the client will launch. You’ll see a window with an empty letterbox screen, and a bank of options at the bottom. Here, you’ll set up the “scene” and sources for your broadcast. The scene in OBS Studio is the final product that you’ll show on Twitch, while the sources are all the various elements that make up your scene.
Most Twitch gaming streams aren’t just a plain screencast of the game itself; they usually include multiple sources, such as a picture-in-picture webcam feed of the player, a watermark, and sometimes even animated screen overlays. Animations are beyond the scope of this tutorial for beginners. We’ll stick to the three basic sources: the game, the webcam, and the watermark.
Source 1: The game stream
We’ll start by adding the most important element to the scene: the game window.
Brad Chacos/IDG
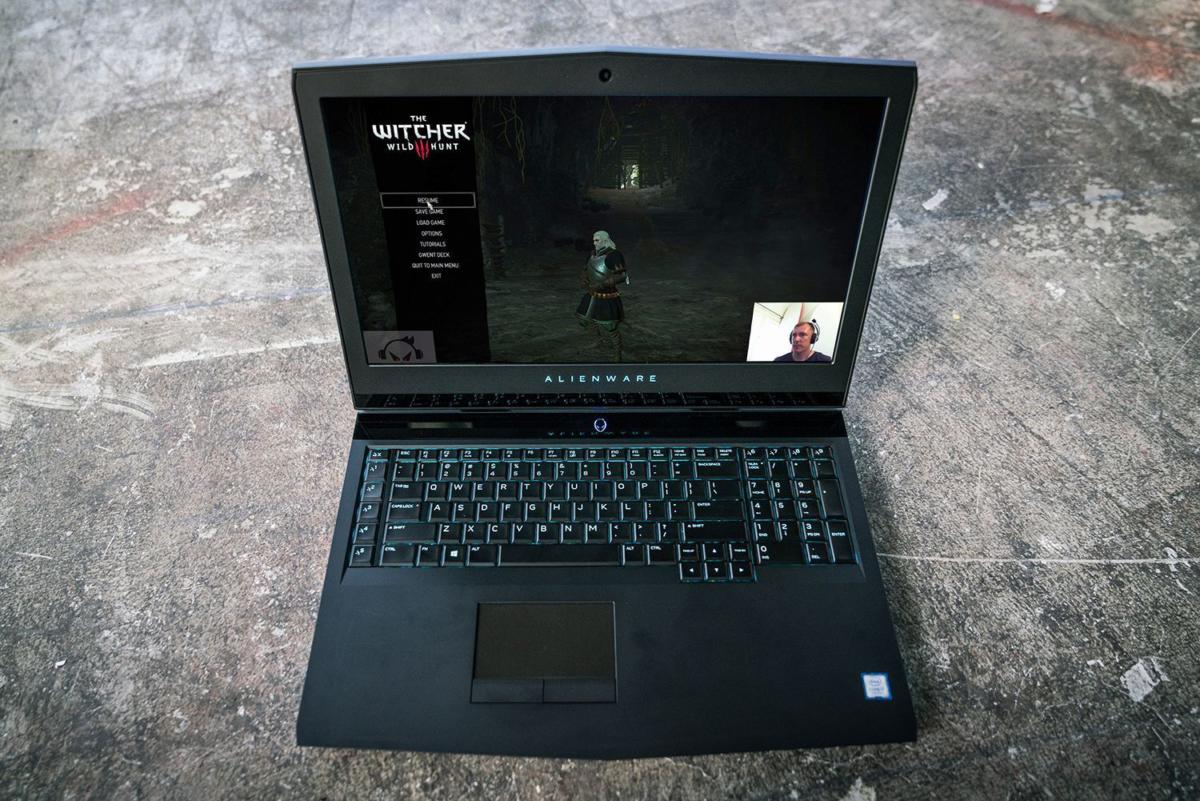
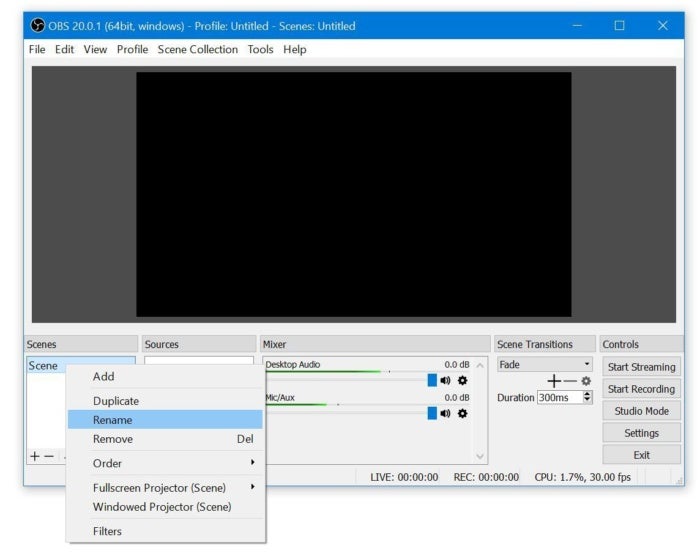
Before we do that, however, let’s rename our scene something more memorable. Below the letterbox, right-click Scene in the left-most panel at the bottom of the OBS window. Select Rename and then give it a better name. In my example, I’m going to stream The Witcher 3 ($20 on Amazon) so I’ll title my scene with the game’s name.
Now let’s add the game feed. Start up your game, and once it’s running press Alt + Tab to navigate back to the OBS window. It doesn’t matter whether the game is in full-screen or windowed mode.
[Source”indianexpress”]