Blogger is one of the oldest platform for blogging, and many people still use it for their
blogging journey.
It’s a great platform to start with but as you get more and more familiar with it, you’ll find some issues in it. And one of the
issues which I have found in blogger is the Bad Image Quality, When you upload any image in your post, Blogger will automatically reduce the quality of it,
Which not only looks terrible but also gives a negative impression on your Audience.

And there is no such way to directly fix it. And we all know how much time it takes to make thumbnail for each of the post.
I have also read some of the other articles on how to improve Image quality in blogger and in most of them they just disable some features of the google plus to Stop your image from ruining by the google. But now, As you know google plus is
Shutting down so there is no such way to disable those buttons in the future. Now to tackle this issue you have to manually add some code for your image in the HTML editor of your post, But don’t
worry I’m with you in every steps.
So just follow the below steps to get the best quality out of
your Image.
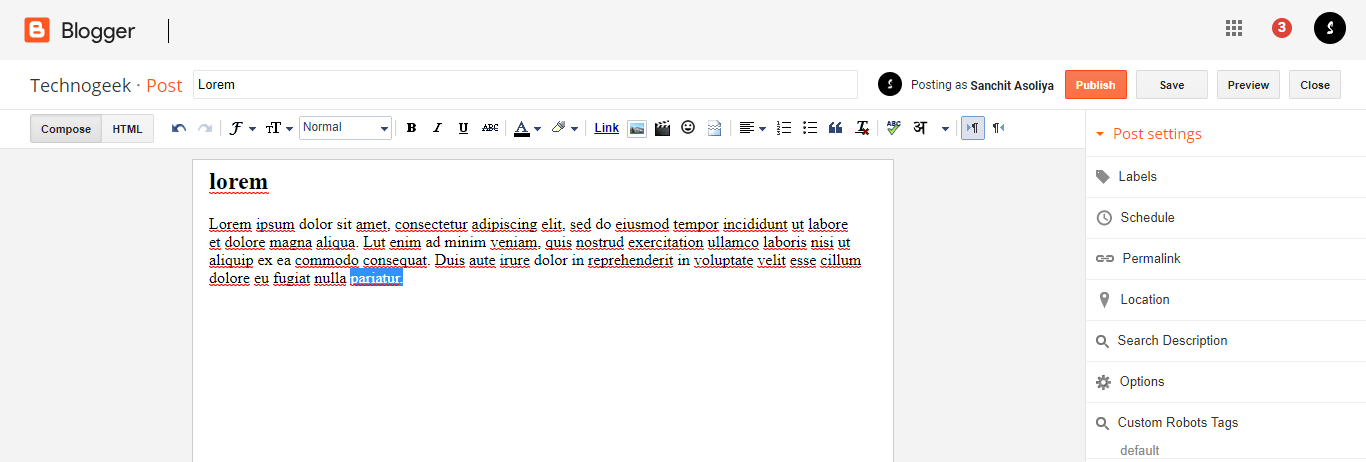
Step 1. Go to Blogger.com and from here click on new post or just edit the old one, and then upload your desired image that you want to show in your post.
Step 2. And now insert your image wherever you want to show in the post (middle, top, Bottom).
Now do a right click on the image and copy the link address of it.
Now do a right click on the image and copy the link address of it.

Step 3. After copying the link, Now remove that image from your post. And now pick the nearest word where you want to set that image, and keep that word in mind or just copy it.

Step 4. Now tap on HTML and do a empty click in the code. From there tap on ctrl + f on your keyboard, and search for that word.
After finding the word paste this Code near of that word, after
a closing tag.
a closing tag.
<img src=”Your Image link” width=”” height=”” />

Now in the place of Your image link paste the link of your image that you have copied before, And in the Width, Height column you can try the below sizes.
Height = 180 to 300
Width = 320 to 380

Note, These are just the sizes of the most common images, you can also try out any size you want, It’s all up to you. And before
previewing them don’t forget to save them each time you change the size. Make sure to enter them in between the ( ” ” ).
[“source=techhsavy”]


